Your display proposal is signed and ready to go, and you’ve decided to create your own design. Now it’s time to submit the artwork and ensure it is print ready. Here are five things to consider before pressing send.
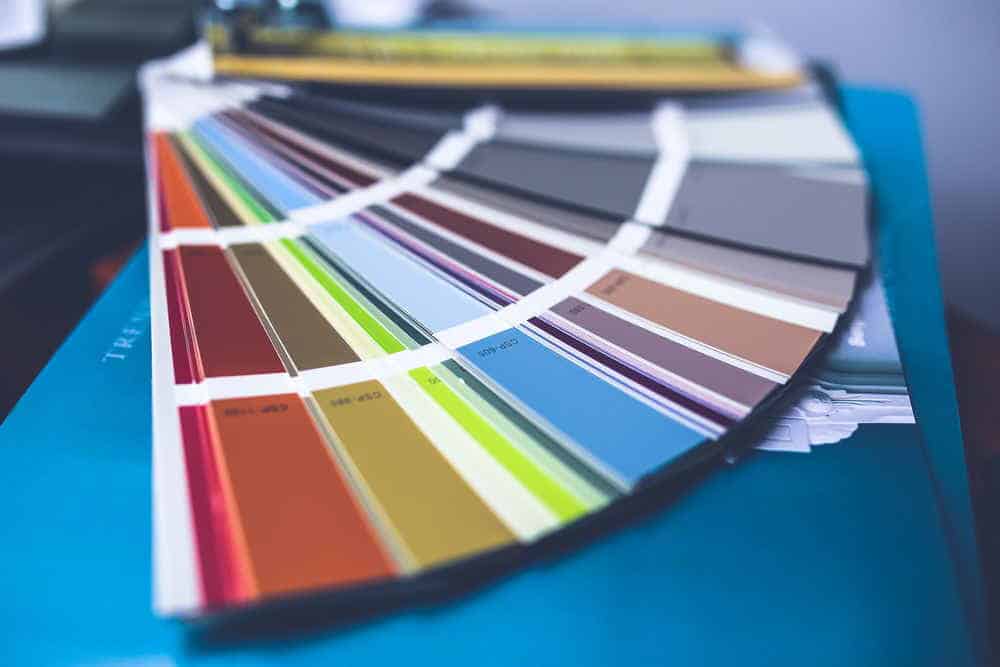
- Color – Color is one of the most important aspects about printing, so it is essential to get it right. Because color can look different on your screen compared to a printed piece, it is important to understand how to get the colors you desire. For images, CMYK or RGB color mode may be sufficient. RGB stands for red, green, and blue, while CMYK stands for cyan, magenta, yellow, and a “key” color (black). In order to ensure any spot colors are accurate, you can use a Pantone number. PMS (Pantone Matching System) is a universal color matching system that is able to create color consistency across a wide variety of printers and materials. Reviewing a PDF or printed proof prior to printing is a good way to check that the color is what you expect.
- File Type and Setup – Certain file types are required for printing graphics. Some printers prefer native files from Adobe Photoshop, Illustrator, and InDesign. It’s important to find out how files need to be set up in proportion to your final output size. You may also be required to convert your text to outlines, or provide linked files for images, artwork, and fonts. Logos should be in a Vector file format. To transfer the artwork, the printer may request to have multiple files zipped together in order to reduce the file size.
- Bleed – Bleed is a printing term used to describe a design that has images, color, and other elements that extend beyond the trim edge. Adding bleed to your design ensures that there is no white border or margin around the artwork once it is printed and cut out. It achieves this by printing the design larger than what the final graphic will be. Bleed also ensures that the design will not be incorrectly trimmed and design elements such as lettering and images will not be cut off. The only reason not to add bleed is if nothing is printed on all sides besides white. There is no standard amount of bleed, so check with your printer to find out how much bleed is required.
- Templates – Certain designs, like trade show displays, often come with a template specifying dimensions, design specifications, and bleed sizes for the artwork. Follow all instructions and double check you are using the correct template. For instance, some trade show displays with the same name are designed differently depending on whether they are configured to be concave or convex. Also, when designing a trade show display it is important to account for extrusion beams, headers, and monitors.
- Resolution – Resolution dictates how clear, unclear, or pixelated your print will be. You can determine the file’s resolution by determining the DPI or PPI (dots per inch/pixels per inch). Be aware that images downloaded from the internet are usually not suitable for printing due to a decreased file size, which results in a lower quality. Stock images are a good alternative in this case as long as you make sure to purchase the correct size.
If you keep these five considerations in mind, you are on your way to creating print ready artwork. Each printer varies depending on a variety of factors, so check with your contact to make sure your artwork meets their requirements. Read more about color and artwork design in our article, Do Specific Colors in Signage Attract Customers?
Headquartered in Baltimore, Maryland, Adler Display brings over 78 years of experience to its clients in need of recognition displays, lobby and corporate interiors, custom exhibits, historical timelines, trade show displays, and signage and graphics. For more information about Adler Display, please visit our website at www.adlerdisplay.com or call us at: 855-552-3537.

